Many people don’t know all that occurs when their pet receives professional dental care, which may lead to fear and reluctance to schedule this important procedure. As a result, many pets do not receive the help for their mouths they so desperately need. Since pets naturally conceal their pain and illness signs in early stages of dental disease, pets are often brought in for infected and loose teeth, leaving us few treatment options other than extraction for some teeth. In order to keep your pet’s mouth both healthy and free from paint-peeling doggy or kitty breath, a well-rounded at-home oral health care plan, combined with routine veterinary dental care, is crucial. After all, you go to the dentist twice a year, and your pet needs dental care, too!
To help clear up any confusion, here’s a step-by-step in-depth look at your pet’s dental care at Best Friends Veterinary Care.
Step 1: Examine your pet thoroughly, including pre-anesthetic testing
During each procedure, we have your pet’s safety in mind. Before we clear your pet for anesthesia, we listen to the heart and lungs, check vital signs, and perform pre-anesthetic blood tests to assess organ function and confirm your pet is healthy prior to anesthesia. If your pet’s exam or blood tests reveal any abnormalities, we address those first.
Step 2: Formulate an anesthetic protocol tailored specifically to your pet
Our dental patients encompass a wide range of breeds, ages, health conditions, and dental-disease stages, making a one-size-fits-all anesthetic protocol impossible. We treat each pet as an individual, formulating an anesthetic protocol tailored specifically to their health status and medical condition. We understand that anesthesia is a risk for any patient, regardless of health status or the procedure, so we use our extensive knowledge to choose the best, safest medications available for your pet.
Step 3: Place an IV catheter and premedicate your pet
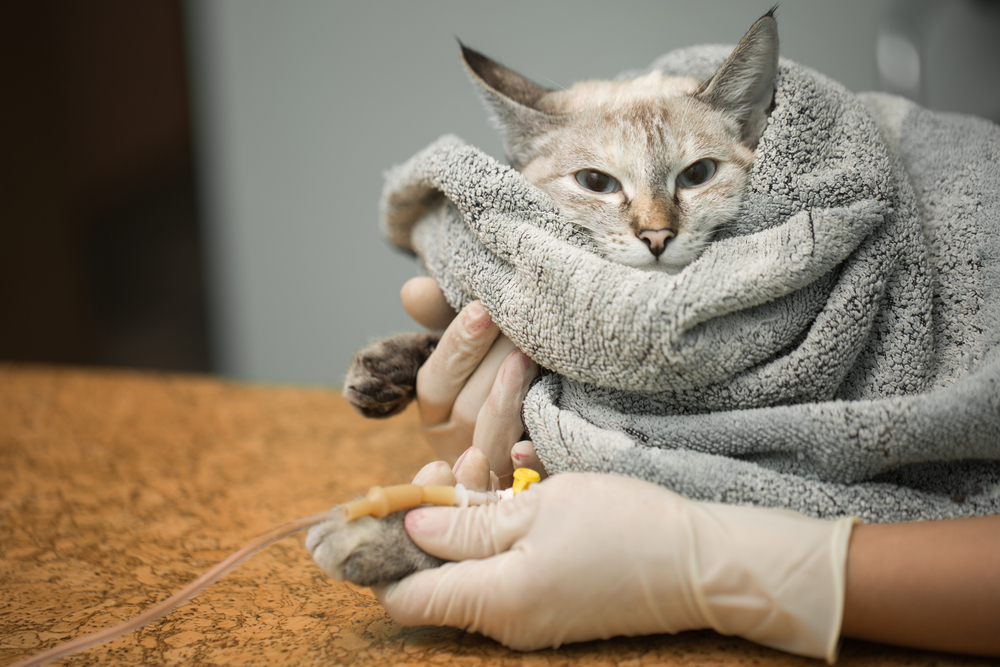
To help your pet relax prior to the procedure, we place an IV catheter and administer a premedication “cocktail” of a sedative and pain medication. The IV catheter allows us to administer drugs quickly and run IV fluids that will maintain hydration and blood pressure, and help your pet metabolize the anesthetic drugs.
Step 4: Induce anesthesia in your pet
Once your pet is comfortably resting and prepped for the dental procedure, we induce general anesthesia through the IV catheter. After your pet is fully relaxed, we place a breathing tube down the trachea to provide oxygen and anesthetic gas, and to protect the lungs from inhaling any bacteria, plaque, tartar, or other debris removed from the teeth. We monitor your pet closely throughout the procedure, and routinely evaluate vital signs, anesthetic depth, and comfort level to ensure they remain safe.
Step 5: Take full-mouth dental X-rays to check for periodontal problems
Did you know nearly 60% of each tooth is beneath the gum line? Our dental procedure includes full-mouth X-rays. Dogs have 42 teeth, and cats have 30, and X-rays allow us to look at all of them. Dental X-rays are essential to evaluate periodontal disease, tooth root abscesses, broken teeth, retained root fragments, and other common problems.
Step 6: Clean and polish each tooth
Armed with our X-ray knowledge of your pet’s mouth, we remove every trace of plaque and tartar, above and below the gumline. After your pet’s teeth are clean, we polish away tiny microabrasions in the enamel and return the teeth to a smooth finish.
Step 7: Evaluate each tooth
Once the teeth are clean, we can more easily evaluate the health of each tooth and the surrounding gingival tissue. We probe for periodontal pockets, which can trap infection; search for fractured or worn teeth; and identify painful resorptive lesions.
Step 8: Administer dental nerve blocks, if needed
During our evaluation, we may find diseased teeth that cannot be helped and need extraction. We first administer novocaine dental nerve blocks so your pet feels no pain during the procedure and well into the recovery period. For a local dental nerve block, we use a combination of lidocaine and bupivacaine, which provides excellent pain control and is vital for every oral surgery.
Step 9: Perform necessary extractions
After your pet’s dental nerve block has taken effect, we can remove the diseased teeth without pain or discomfort, due to our well-balanced anesthetic protocol and nerve block administration. Occasionally, an extraction site will require a gingival flap procedure, which uses nearby gum tissue to help close the hole left behind. This procedure promotes quicker healing, and helps keep food from entering the extraction site and causing infection.
Step 10: Take dental X-rays after extractions
We repeat dental X-rays after dental extractions to ensure we removed every tooth-root fragment. Occasionally, teeth are so diseased that they shatter during extraction, and root fragments may be left behind. Without checking for lingering root fragments, your pet can still suffer from pain and infection.
Step 11: Recover your pet from anesthesia

After we have completed every dental task on your pet’s list, ensuring their mouth is now healthy and disease-free, we recover them from anesthesia. We keep your pet snug and warm, monitor for signs of pain, or difficulty breathing or swallowing, and keep an eye on vital signs to ensure a smooth, comfortable recovery. Once your pet is alert, we send them home to you, with kissably fresh breath and a shining smile.
Now that you know all the steps that we take to keep your beloved pet safe during a dental procedure, isn’t it time you scheduled your furry friend’s dental cleaning? Give us a call.


Leave A Comment