Nothing ends a cuddle session with your pet more quickly than finding a tick in their fur. As soon as you find that small, round arachnid, you feel itchy, repulsed, and more than a little panicked. Why is this tick on your pet? What should you do? How can you prevent ticks from attaching to your pet again?
First, relax! If your pet is up-to-date on their parasite preventives, they have a low risk for contracting a tick-borne disease. Follow our Best Friends Veterinary Care team’s tick facts guide and step-by-step instructions on how to remove a tick safely from your pet’s skin.
What’s the bug idea? Pets, ticks, and disease
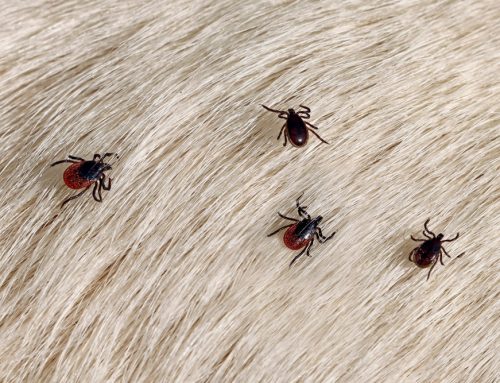
Ticks are gross, but their unattractive appearance is the least of their threats. These tiny arachnids are harmful bacteria vectors (i.e., carriers, middlemen) that can transmit Lyme disease, anaplasmosis, ehrlichiosis, and other debilitating conditions. When an infected tick takes a blood meal from your pet, they can transmit harmful bacteria through their saliva.
Because you cannot distinguish between an infected and uninfected tick, you must promptly remove this bloodsucker from your pet’s skin to help prevent your four-legged friend from contracting disease. Oral and topical tick preventives generally feature a fast speed-of-kill and prevent attached ticks from transmitting infectious bacteria. However, until the tick begins its feeding process, you may find a live tick on a pet who is up-to-date on their parasite prevention medicine.
7 Steps to removing a tick from your pet
Although it’s tempting to get the tick off your pet’s skin by any means necessary, hasty or incorrect removal can lead to unnecessary pain and stress. If you break the tick’s body during removal, the head and mouthparts can remain lodged in your pet’s skin and create further irritation. Fortunately, effective removal is quick, safe, and easy when you perform this process by using the proper tools and using the correct technique.
- Step #1: Stay calm
Your pet can sense your emotions and will know if you are panicked, anxious, or stressed. If they feel threatened or uneasy, your pet will attempt to get away or struggle out of your grasp. Despite how you feel about ticks, take a deep breath and stay calm. Focus on the task at hand rather than on your hatred for ticks. - Step #2: Use the right tools
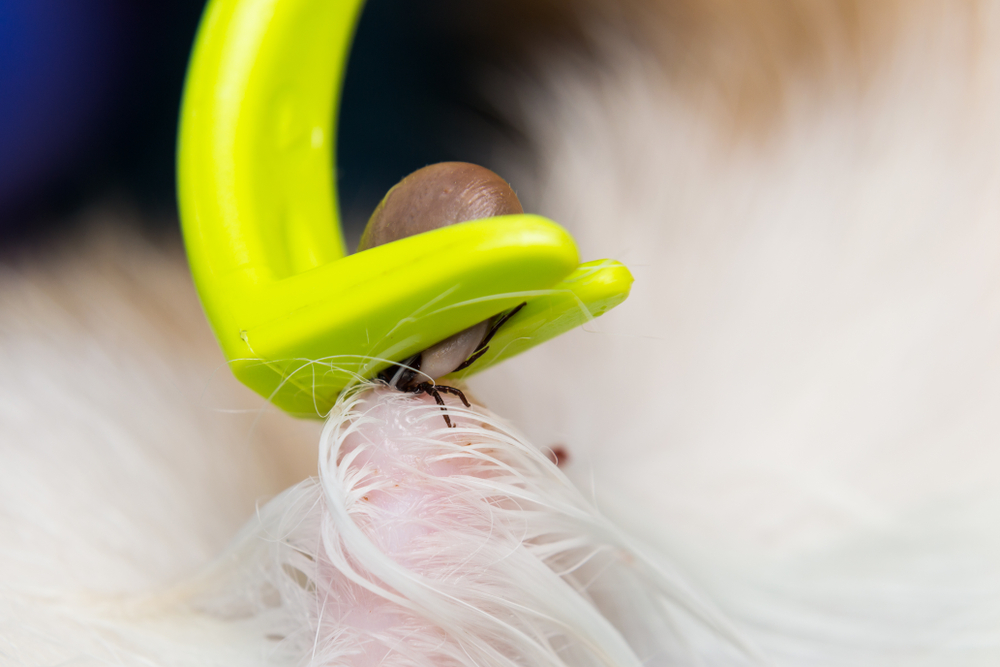
Direct handling can increase your risk for disease exposure, so always use a tick removal tool or tweezers to detach the tick from your pet’s skin. Tick removal tools come in various styles such as the Tick Key or the tweezer-like Tick Twister. Follow product instructions for safe and effective use. - Step #3: Take your pet to a quiet area
Painless tick removal requires that your four-legged friend remain still, so relocate your pet to a quiet and distraction-free room. If you have a small pet, place them on a bed or chair to avoid having to bend or lean over them during the tick removal process. - Step #4: Grasp the tick near the skin
Part your pet’s hair around the tick and use your tick tool to grasp the tick’s head without pinching your pet’s skin. Have a helper shine a flashlight to get a good view of the tick’s attachment point or to help keep your pet’s hair out of the removal procedure area. - Step #5: Pull up and away, in a straight line from the tick’s head
After you’ve secured the tick with your chosen tool, apply gentle but steady traction and pull up and away, along an invisible line from the tick’s head. You may feel a pop as the tick’s grip releases from your pet’s skin. - Step #6: Ensure complete removal
Inspect the tick, or your pet’s skin if you’re squeamish, to ensure complete removal. If the tick’s head is still attached to your pet’s skin, you may be able to grasp and remove the pest carefully with tweezers. However, you can also monitor the bite site for several days until the head or mouthparts dry up and fall away. If you notice persistent irritation or swelling around the bite site, contact our Best Friends Veterinary Center team. - Step #7: Dispose of the tick and wash your hands
Ensure you carefully dispose of live and dead ticks to prevent reattachment to your pet’s skin or bacterial transmission. Safe disposal methods include: -
- Flushing the tick down the toilet
- Wrapping the tick in tape
- Submerging the tick in isopropyl alcohol
- Sealing the tick in a plastic bag
If you’re concerned or curious about the tick’s species, consult The University of Rhode Island’s TickSpotters, a crowd-sourcing tick identification tool. Tick Encounter is an educational hub for tick-related information.
After the bite: Review your pet’s parasite prevention plan

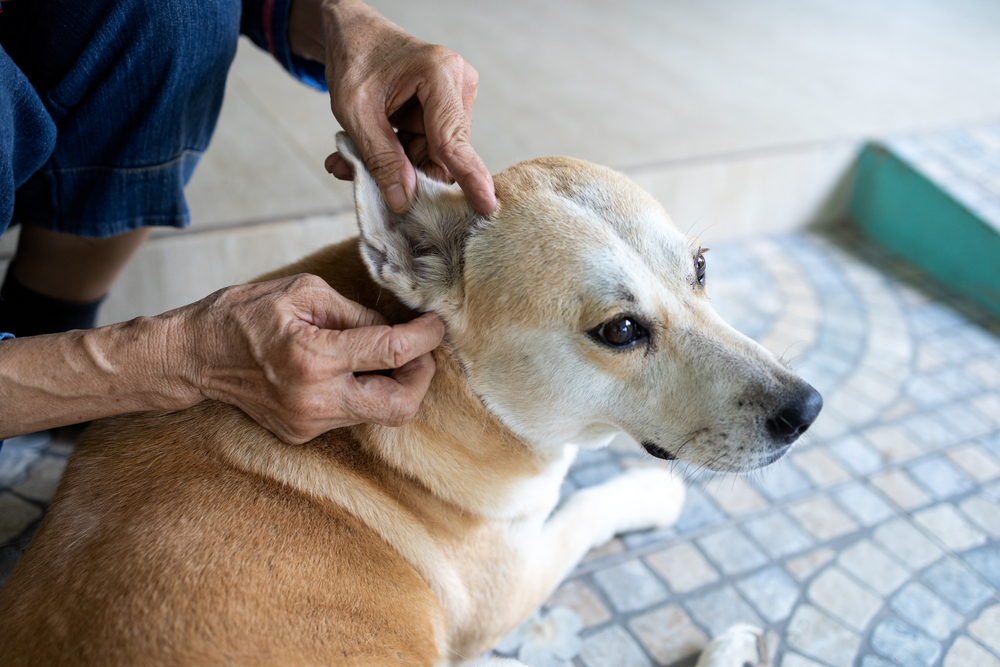
After removing a tick from your pet, perform a thorough nose-to-tail inspection to check for additional hitchhiking pests. Ticks prefer to hide in well-concealed areas such as your pet’s groin, armpits, eyelids, ears, and between the toes.
Although the occasional tick is not uncommon, especially if it’s dead, frequent attached ticks may indicate that your pet’s preventive product is not as effective as it should be, leaving your four-legged friend vulnerable to tick-borne disease. If you’re finding a significant number of live ticks on your pet, schedule an appointment with your Best Friends Veterinary Care veterinarian.


Leave A Comment